
{article.name}
Tips for Building a Stair Case
Building a stair case can be an intimidating endeavor, regardless of skill level. Most of the time though, only a simple staircases is needed. No need for elaborate spirals and exotic materials -- just the basics. Any staircase, regardless of design, has certain things in common. In its basic form, building a simple staircase is something that most homeowners can handle.
First off, here’s some basic terminology: The main components of nearly any staircase are the stringers, the treads, and the risers. A stringer is the portion of the stairway that connects one level to the next, at a diagonal. It is the surface on which the steps are attached. Treads are the horizontal steps that people step (or tread) upon. Risers are the vertical spaces between each tread.
The first step (yes, that was a pun) is to calculate the vertical space from the bottom point to the top. To do this, you must establish a “landing point” at the bottom of your proposed stairway. First, measure the vertical distance from the landing point to the height of the upper level. Next, measure the diagonal distance from the landing point at the bottom to the edge of the landing point of at the top.
To determine the number of steps required, you’ll need to use your vertical measurement between both levels. Typically steps are 7 inches high. For example, if the height is 42 inches, then you will need six steps. Subtract one, since the ground level is considered your first step.
Normally treads are 11 inches deep, so multiply your number of steps needed times 11. This will be the distance that your stairway will span. If your height did not divide evenly by 7 inches, you can safely add up to three quarters of an inch for the bottom stair. If that’s still not enough, you may have to build a landing pad at the bottom to make up the difference. Keep in mind, though that landing pads need to be larger than the bottom step to allow user to stop, turn etc. Typically, landing pads are a 3 by 4 foot area.
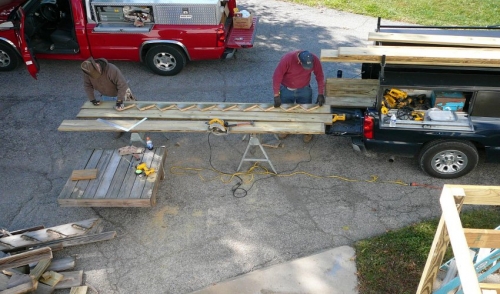
Use a framing square to lay out your stairs on the stringers. Most stairways utilize three stringers. One on each side and the third placed in the middle. A circular saw works well for making the cuts, though a hand saw may be needed to finish up the corners. The first stringer can be used as a template for the other two. Once the stringers are cut, place them at the base of the floor and on the upper level. Attach the stringers to the upper level with either metal brackets or lag bolts.
Next, measure and cut your treads according to your calculations. Screw the treads down to avoid creaking during use. Lastly, measure, cut and attach the risers.
Some pros like to use glue in addition to nails and screws to avoid excess movement and creaking in the ensuing years. If your stairway will have a concrete slab at the bottom, consider using treated lumber where wood contacts the cement. This will avoid the potential for rot due to excess moisture.
Comments